How to Install Window Blinds: A Practical Guide for 2026
Step-by-step techniques for hanging blinds correctly, from measuring to final adjustments.
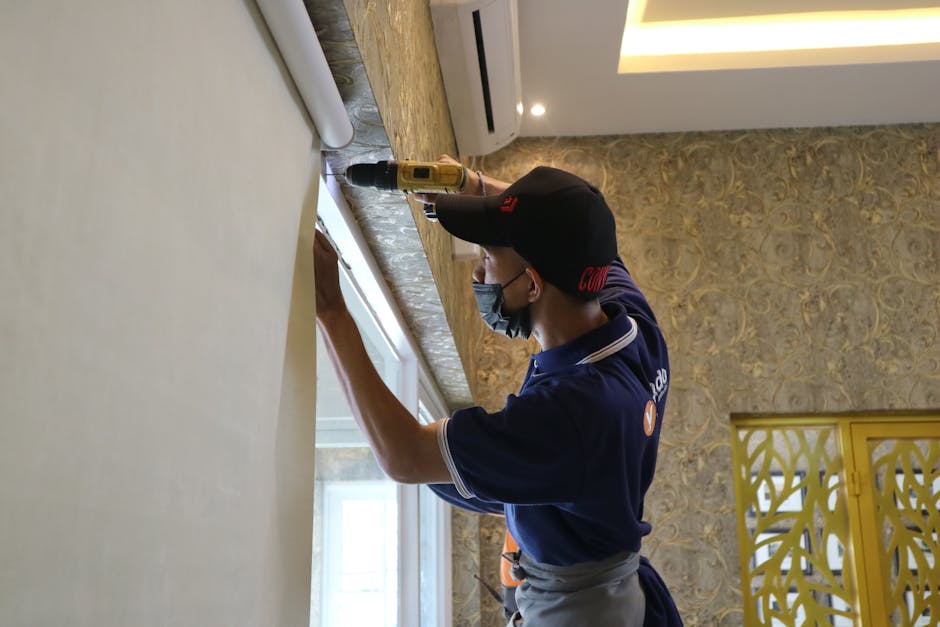
Installing window blinds sounds straightforward until you're actually measuring and drilling. The difference between a job that looks polished and one that looks crooked often comes down to preparation and technique.
This guide walks through the core steps—measuring, choosing hardware, and mounting—that make the difference. Whether you're upgrading one room or an entire house, getting the basics right saves frustration later.
Measuring and Planning Matter More Than You Think
Accurate measurements are the foundation of successful blind installation. Measure the window width at the top, middle, and bottom—frame widths can vary slightly, and accounting for that prevents binding.
Height measurement is equally critical. Measure from the top of the frame (or where you want the blinds to sit) down to the sill. Add a few extra inches if you're mounting inside the frame versus outside.
Sketch a quick diagram of your windows with measurements written down. This prevents mental math errors when you're in a shop or ordering online.

Key Installation Decisions
Hardware Selection and Mounting
Brackets come in standard sizes; heavier blinds (wood or faux wood) need heavy-duty hardware, while aluminum or vinyl blinds can use lighter brackets.
Locate wall studs if possible—a stud finder costs under $20 and eliminates guesswork. Studs provide the most secure anchor for permanent installations.
If mounting between studs, use heavy-duty wall anchors rated for your blind's weight. Generic anchors often fail because people underestimate how much force a tilting mechanism creates.
Lazblinds and similar retailers provide hardware kits with their blinds; verify the kit matches your wall type before installation begins.

Five Steps to Hanging Blinds Correctly
1. Mark Bracket Positions
Use a pencil and level to mark where brackets will go. Brackets should be 2-3 inches from each end to prevent tilting or twisting.
Mark both mounting points and use a level to ensure they're perfectly horizontal.
2. Drill Pilot Holes
A pilot hole (smaller than your screw) prevents wall damage and makes screw driving easier. Drill straight in—angled holes create misalignment.
3. Install Brackets Firmly
Screw brackets in completely; they should feel solid with no rocking. Loose brackets cause binding and mechanical failure.
4. Insert the Blind Rails
Most blinds slide into bracket slots. Ensure they click or seat fully; a blind sitting loosely will slide out during normal operation.
5. Test Operation and Adjust
Open and close the blinds several times. Check for binding, uneven slats, or dragging. Minor height adjustments are possible on some models before the job is done.
Keep the packaging and hardware instructions nearby while working. A stray screw or forgotten bracket detail early on beats discovering a missing step halfway through installation.
Common Mistakes and How to Avoid Them
Uneven brackets are the most visible failure. A single bracket set too high or low throws off the entire look. Use a real level, not your eye.
Undersized anchors lead to sagging months later. If instructions say use 50-pound anchors, that's a minimum, not a suggestion.
Forcing blinds into tight brackets damages the mechanism. If something doesn't slide smoothly, stop and check alignment before forcing.
Energy Efficiency and Light Control
Window coverings affect thermal performance. The U.S. Department of Energy notes that blinds reduce heat gain in summer and heat loss in winter when properly sealed to the window frame.
Closing blinds at night in winter and during peak sun in summer measurably reduces HVAC load. Quality installation with minimal light leakage around edges improves this benefit.
Cellular or honeycomb blinds offer better insulation than flat varieties, though proper installation matters more than material choice.
The Details Make the Installation
Clean, level, secure blinds come from patience with measurement and bracket alignment. Rushing those steps creates weeks of frustration.
If you're uncertain about wall anchors or stud location, measuring twice and consulting hardware instructions once beats trial-and-error fixes. A successful installation is one you don't think about again—the blinds just work.