How to Install Window Blinds Like a Pro in 2026
A practical guide to measuring, choosing, and hanging blinds that actually stay put.
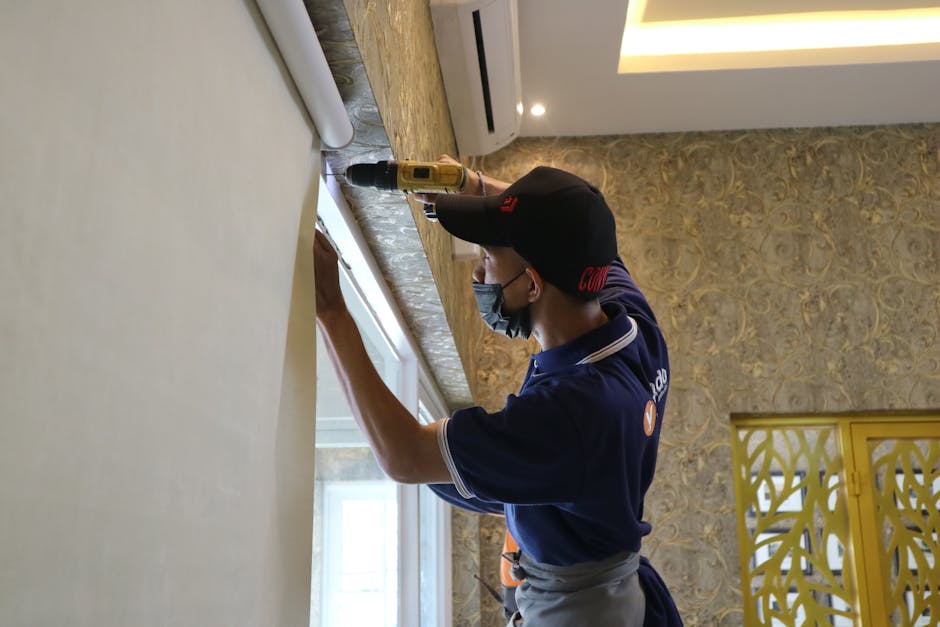
Installing new blinds transforms a room faster than almost any other home project—and it's simpler than most people assume.
Whether you're upgrading tired treatments or outfitting a new space, knowing the fundamentals of measurement, hardware placement, and hanging technique saves money and frustration.
This guide walks through the essentials that separate a crooked, sagging install from one that looks intentional and lasts.
Measure twice, install once
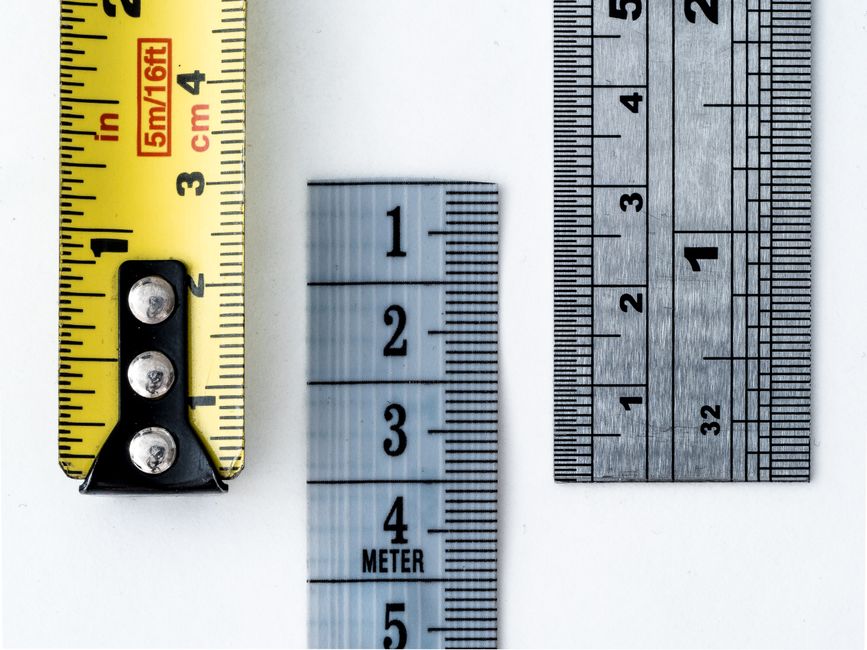
Accuracy in measurement determines everything. Take three measurements at each window: top, middle, and bottom, recording the shortest width and the full height from frame top to sill.
Most blind manufacturers assume an inside-mount install (blinds sit recessed within the window frame). Inside mounts hide the hardware but demand precision—even a quarter-inch error becomes obvious once hung.
Outside mounts sit flush against the wall or trim, requiring less precision but consuming wall space. Choose based on your room's proportions and how much light control you actually need.
Essential tools and hardware
Bracket placement and alignment
For inside mounts, brackets typically sit 1–2 inches from each end of the frame top, screwed directly into the wood header.
Outside mounts require more spacing—usually 1–2 inches beyond the frame on each side, secured into wall studs or with heavy-duty anchors if studs aren't conveniently positioned.
Use the level constantly. A bracket just 1 degree off-kilter creates a chain reaction: the blind tilts, the cord path warps, and the slats bind when raising or lowering.
Many manufacturers provide a template or alignment guide; use it. The U.S. Department of Energy notes that properly hung blinds also improve thermal efficiency, but only if they seal against the frame without gaps caused by uneven installation.
Hanging and securing the blind
Most modern blinds snap or slide into brackets with minimal fuss. Align the rails or mounting clips carefully before releasing your hands—a misaligned blind is much harder to correct once seated.
Tilt and operate the blind slowly the first few times, feeling for resistance. Binding signals an alignment issue; don't force it, or you'll strip the gears.
If your blind came with cord locks, install them at child height. Safety isn't optional, and loose cords near cribs, beds, or play areas pose real hazards.
After a week, check bracket screws and fasteners. Vibration from opening and closing can loosen hardware; a quick tightening prevents future wobbling.

Common installation mistakes to avoid
1. Skipping the level
Even 2 degrees of tilt cascades into binding and misaligned slats. Eyeballing it never works.
2. Ignoring wall construction
Drywall anchors alone can't support blinds for years. Outside mounts absolutely need studs or commercial-grade anchors rated for the blind's weight.
3. Over-tightening screws
Stripped holes weaken the installation and make adjustment impossible later. Snug is enough; cranking it down risks cracking plastic or stripping threads.
4. Forgetting cord safety measures
Cords and chain can strangle. Install stops and use child-safety locks if anyone young lives in the home.
5. Mounting too tight against trim
Blinds need breathing room. Mounting directly flush against thick trim can cause cords to fray or hardware to rub.
Material and style considerations
Modern blinds come in vinyl, aluminum, wood, and fabric—each with different weight and durability profiles.
Heavier wood blinds demand rock-solid brackets and wall support. Lightweight vinyl or aluminum are more forgiving but can feel cheap if undersized.
Lazblinds and similar retailers stock both premium and budget options. Choosing quality hardware—not just the blind itself—matters just as much.
Measure the depth of your window frame before ordering; blinds must fit within the recess for inside mounts, or they'll look awkwardly proud of the wall.
Save the manufacturer's instruction packet and bracket template. If you ever remove the blind for cleaning or replacement, the holes and anchors are already perfectly marked for reinstall.

Installation pays off immediately
A well-hung blind looks intentional, operates smoothly, and lasts years without sagging or binding.
The time invested in accurate measurement and careful bracket alignment is returned every single day you use the blind.
Start with one window to build confidence, then replicate the process across your home. By the third or fourth install, the rhythm becomes automatic.