How to Install Window Blinds the Right Way
A practical guide to measuring, mounting, and finishing the job in 2026.

Installing window blinds yourself can save hundreds in labor costs and give you control over the final fit.
The process looks simpler than it is—measurement errors and bracket placement mistakes derail most first-timers.
This guide covers the essentials: measuring accurately, choosing the right mounting approach, and securing brackets so blinds hang straight and operate smoothly.
Measure Twice, Buy Once
Accurate measurements prevent the frustration of blinds that don't fit your window opening.
For inside-mount blinds, measure the width at the top, middle, and bottom of the opening—windows are rarely perfectly square. Use the smallest measurement.
Measure height from the top of the opening to the sill. Subtract one-eighth inch from width and one-quarter inch from height to account for frame clearance.
For outside-mount blinds, measure the entire wall area you plan to cover, including frame and surrounding wall space. Outside-mount blinds look cleaner and block more light.

Bracket Placement and Mounting Options
Brackets support your entire blind weight, so location matters enormously.
Inside-mount brackets attach to the top of the window frame using screws into wood. Outside-mount brackets sit on the wall above and beside the frame, requiring wall anchors if you're not hitting studs.
Most blinds ship with brackets spaced 4–6 inches from the ends. Follow the manufacturer's template and use a level to ensure brackets are perfectly horizontal.
For heavier blinds—faux wood or thermal blackout types—use a stud finder and screw directly into framing when possible. Drywall anchors rated for at least 25 pounds per bracket are acceptable for lightweight fabric blinds.
Tools and Materials Checklist
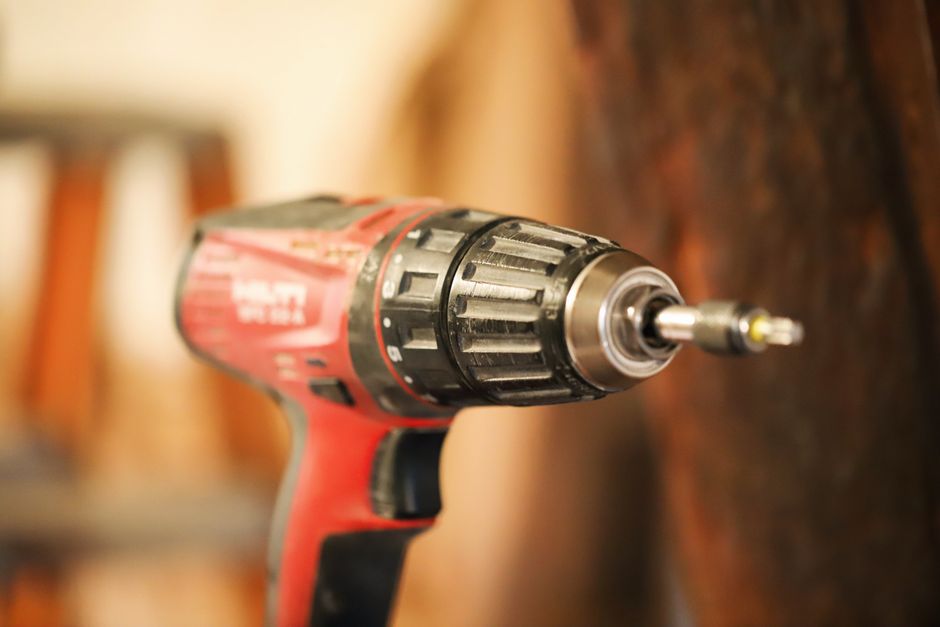
Installation Steps and Common Pitfalls
Start by testing your brackets on scrap wood—make sure screws fit snugly without stripping threads.
Lazblinds and most retailers include detailed bracket templates with every blind. Tape the template to the wall, mark hole centers with a pencil, and remove the template before drilling.
Drill pilot holes slightly smaller than your screw diameter to prevent wood splitting and drywall cracking.
Insert anchors or screws, then hang the headrail—the top rail that holds the blind cords and slats. Slide the rail into the brackets until you hear or feel a click. Some brackets require a locking tab to be engaged afterward.
Adjust the blind so it's level by loosening one bracket slightly and shimming the rail with a thin wooden shim. Re-tighten and verify levelness again.
Test operation before finishing: raise and lower the blind several times. If it binds or lifts unevenly, the mounting angle is off—loosen the brackets and adjust.
Inside-Mount vs. Outside-Mount Trade-Offs
Inside-Mount Advantages
- Cleaner, more integrated look that preserves window architecture.
- Easier measurement and drilling if framing is accessible.
- Window sills can still be used for decor or plants.
Inside-Mount Drawbacks
- Poor light-blocking if gaps exist at frame edges.
- Blinds sit inside the reveal, reducing headroom for tall windows.
- Trickier installation if window frame is uneven or damaged.
Energy Efficiency and Long-Term Maintenance
Window coverings contribute to heating and cooling efficiency. The U.S. Department of Energy notes that thermal blinds and cellular shades can reduce heat loss in winter and block solar gain in summer.
Once installed, dust blinds monthly with a soft brush or microfiber cloth to prevent dirt buildup that can cause cord fraying or slat stiffness.
Check mounting hardware annually—vibration from heavy use can loosen screws. A quick tightening prevents catastrophic bracket failure.
Avoid over-tilting the wand or cord; excessive force strains the tilt mechanism and cord fittings. Smooth, deliberate movements extend blind lifespan by years.
The difference between a professional installation and a DIY job is often not skill but patience. Take your time measuring, and bracket placement becomes almost foolproof.
Home improvement guide consensus, 2026
If your window frame is damaged or uneven, an outside-mount installation forgives minor imperfections and looks equally polished. Don't force inside-mount blinds into a poor-fitting opening.
The Bottom Line
Blind installation is a DIY-friendly project when you measure carefully, use the right tools, and follow the manufacturer's template.
The payoff—saving on labor and completing the job on your schedule—justifies the hour or two spent setting brackets level and secure.
Start with one window as a test run, verify the result, then apply what you learned to any other windows in your home.